
A small setup before the first notification.
LanguageEnglish
01
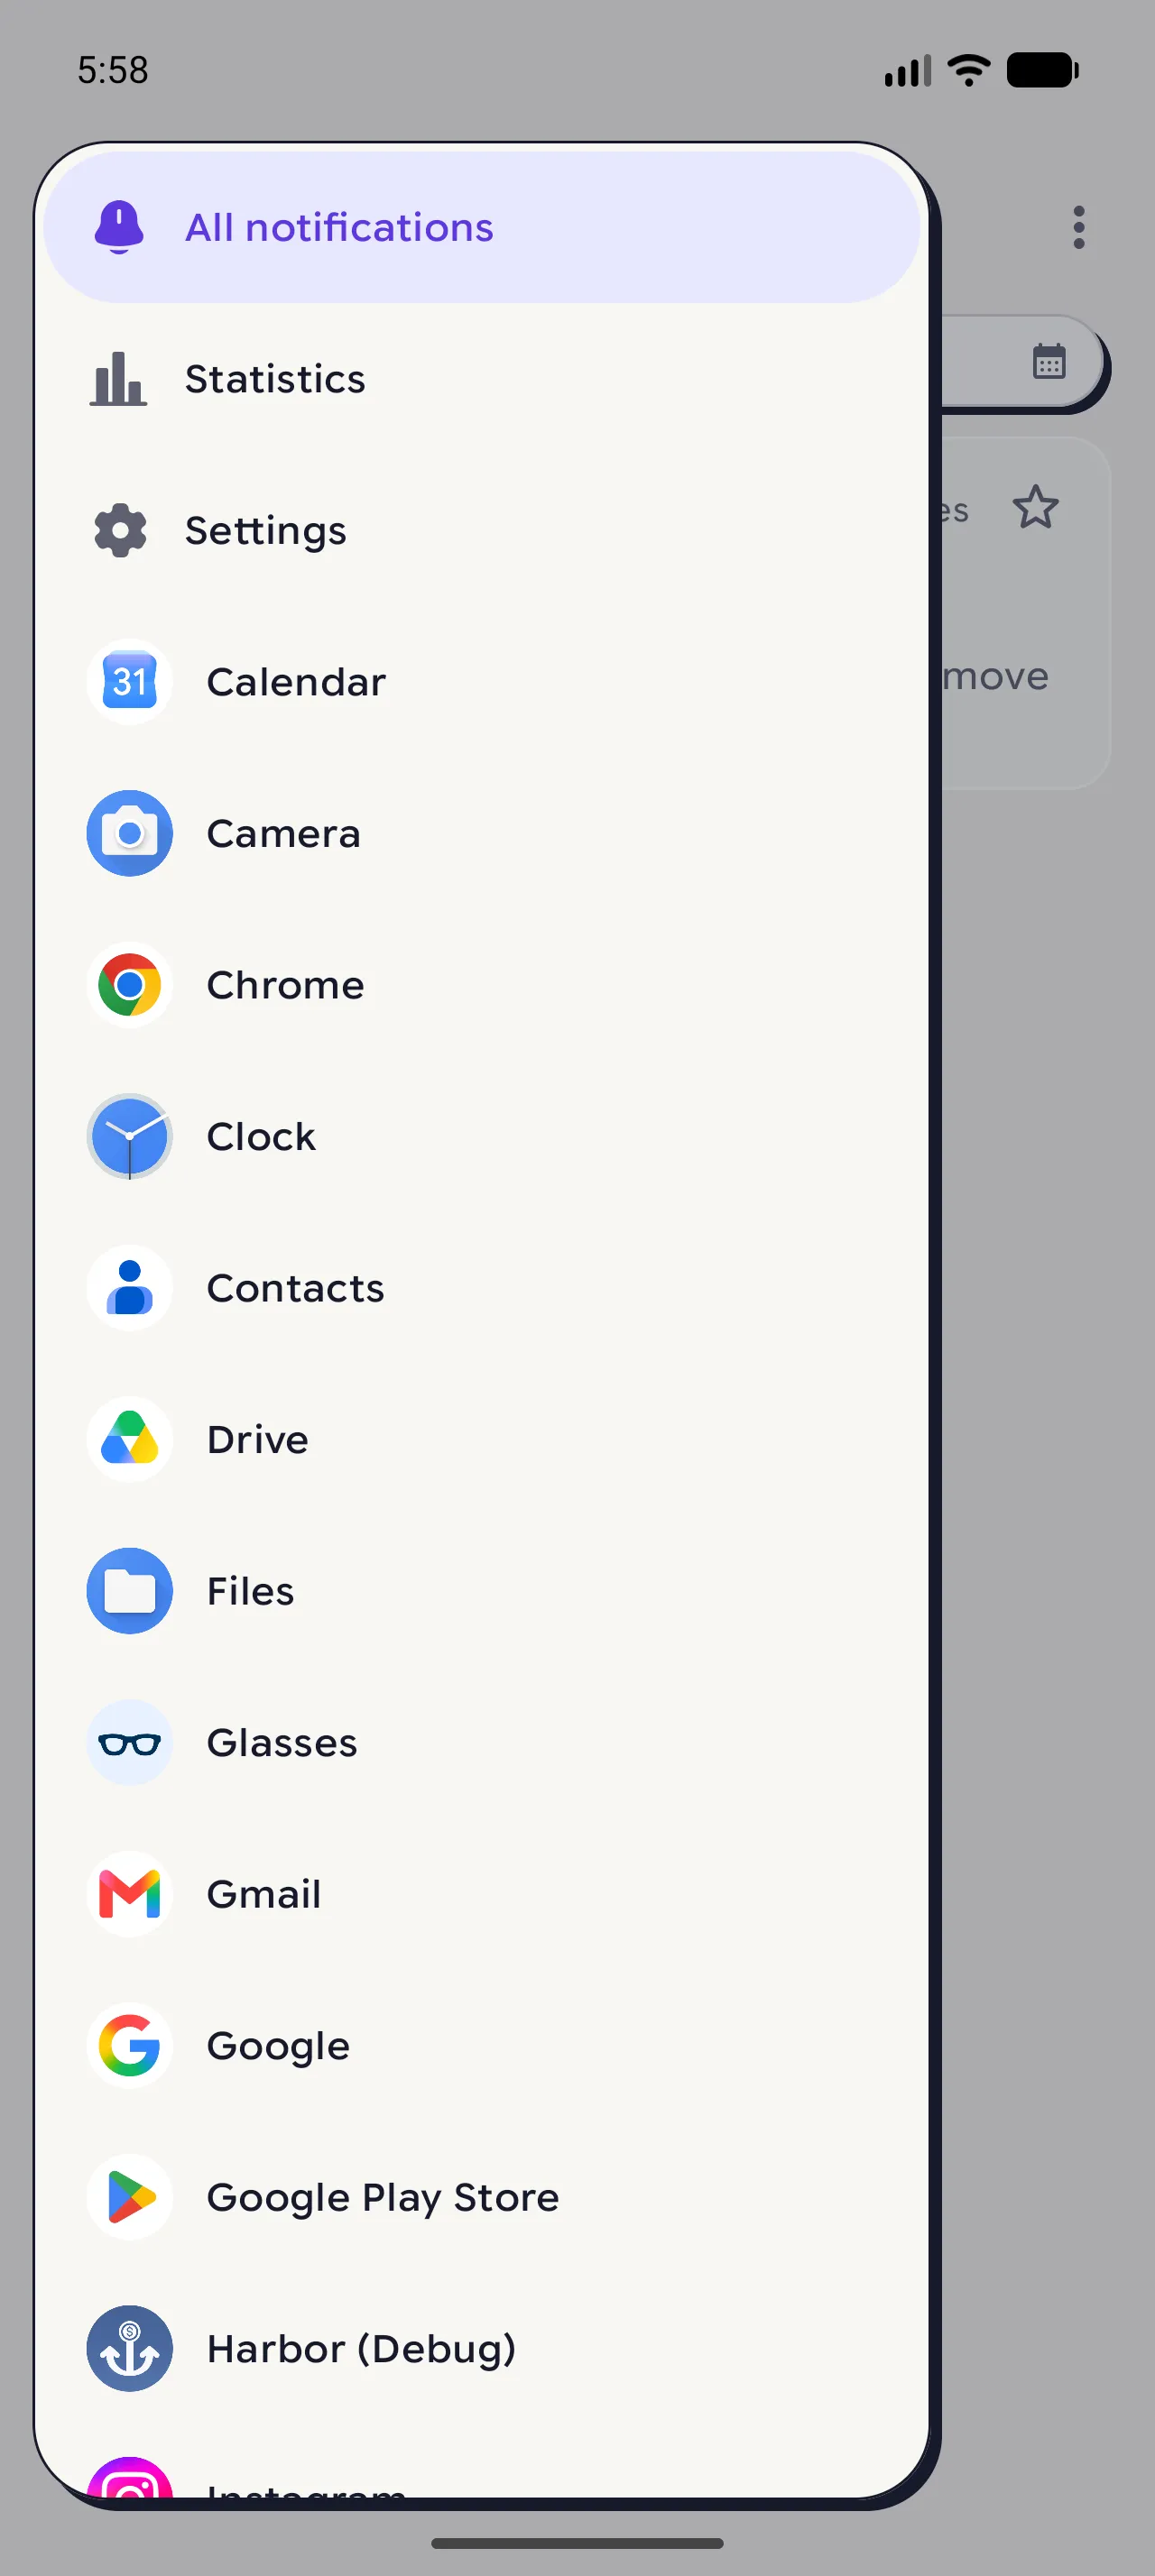
Open the Home menu
From Home, tap the menu and choose Settings. This is where Notispace shows whether notification access is ready.
02
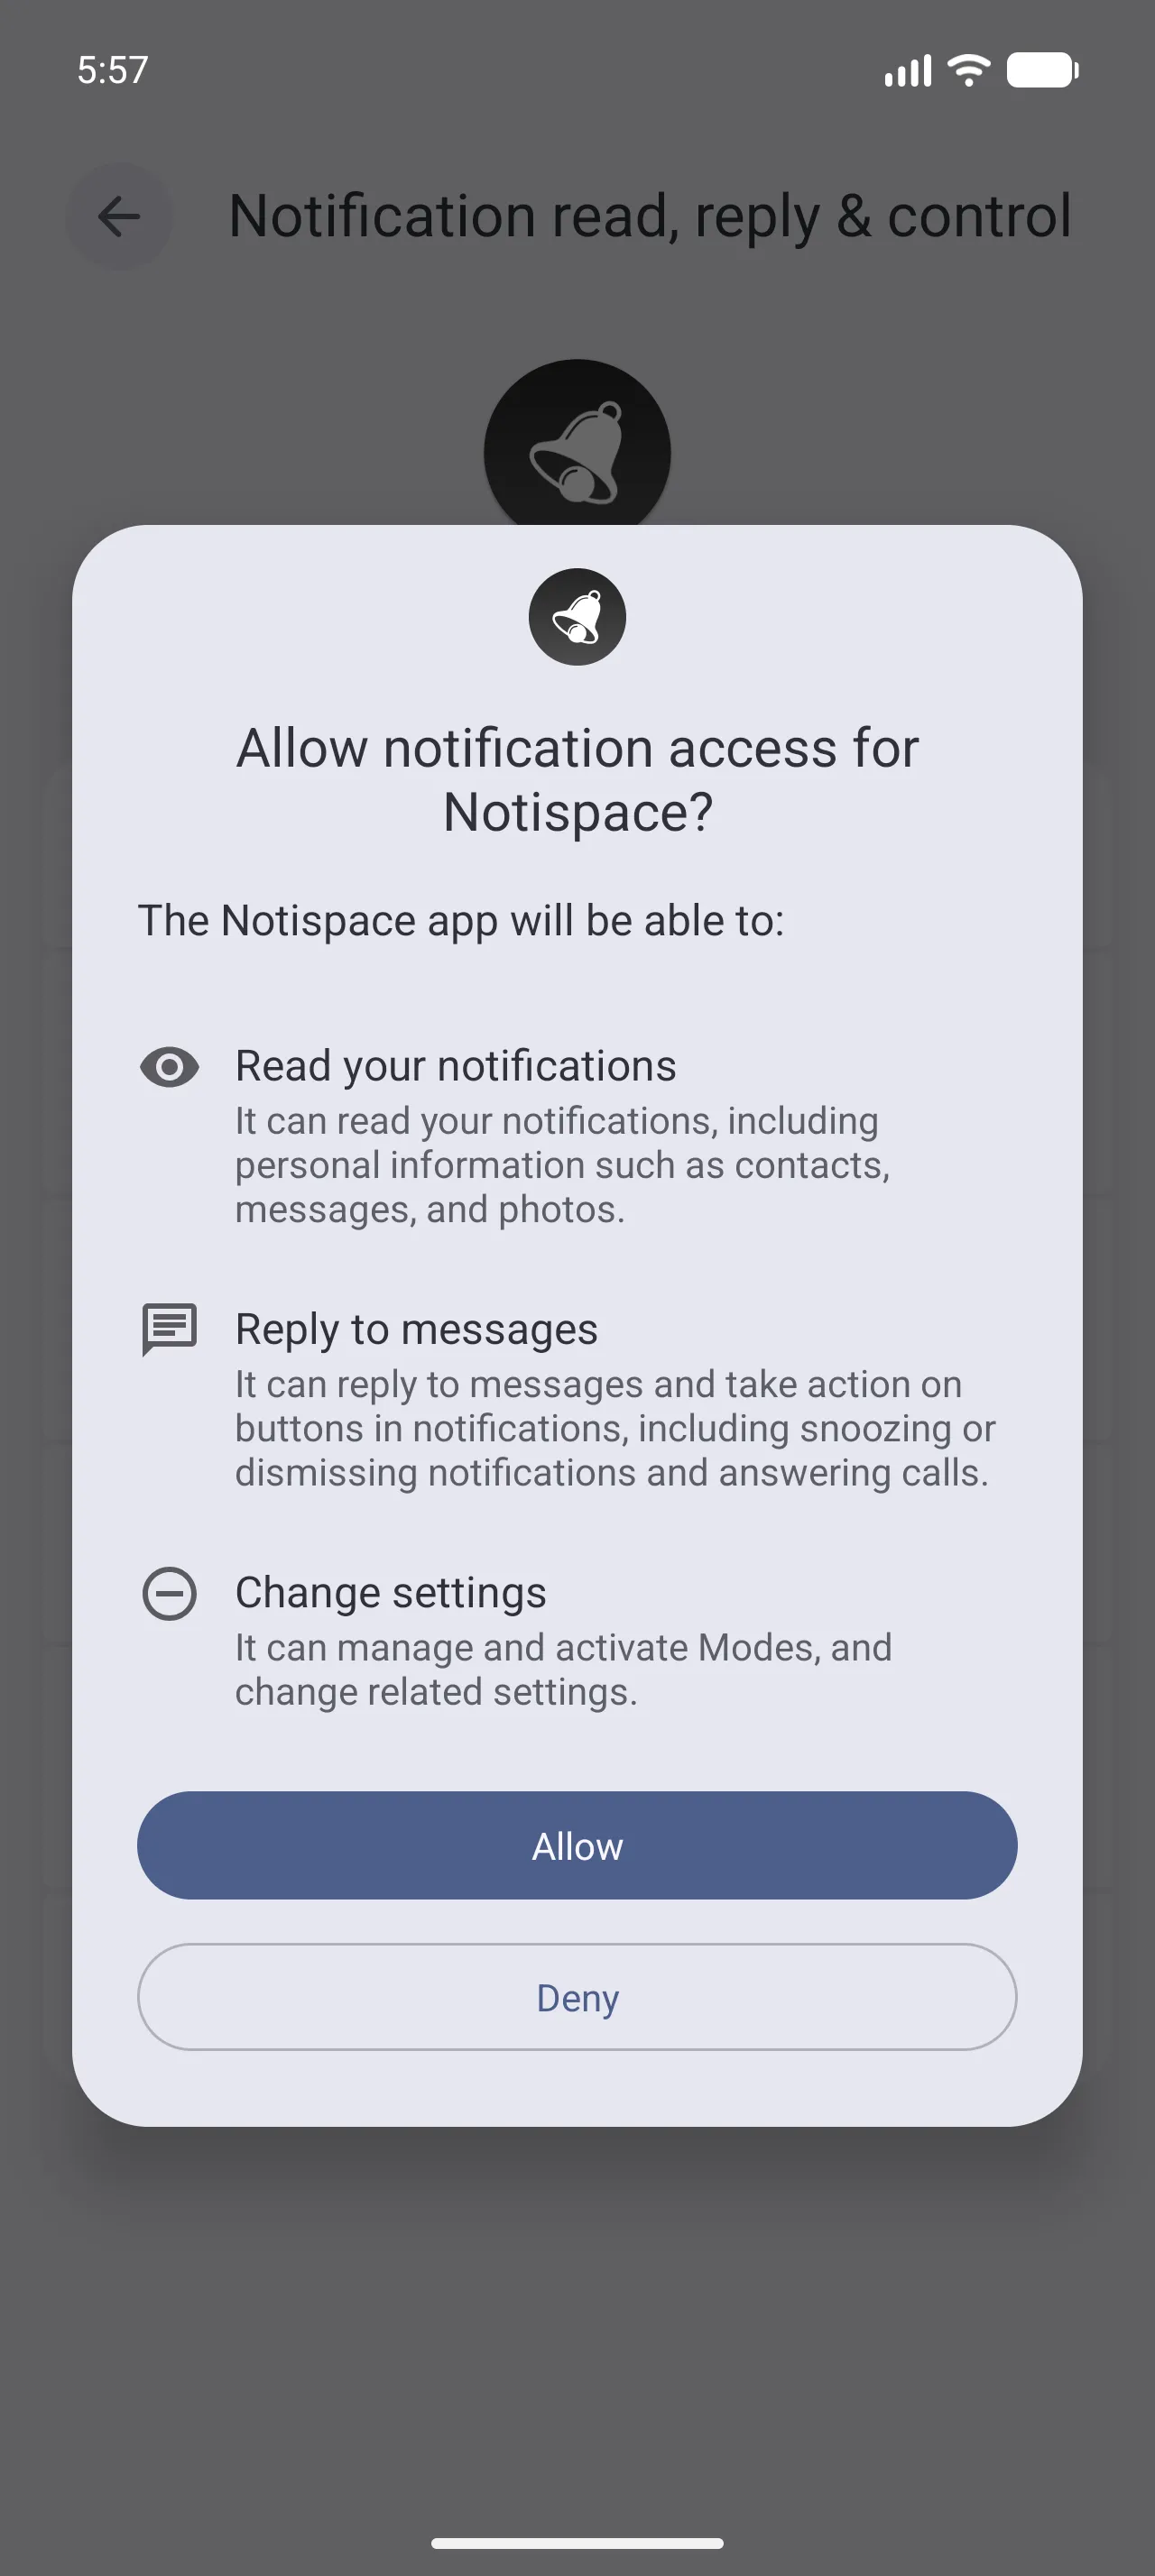
Turn on notification access
Tap Open settings, choose Notispace on Android's notification access screen, and allow access. Android owns this permission, so the wording can vary by phone.
03
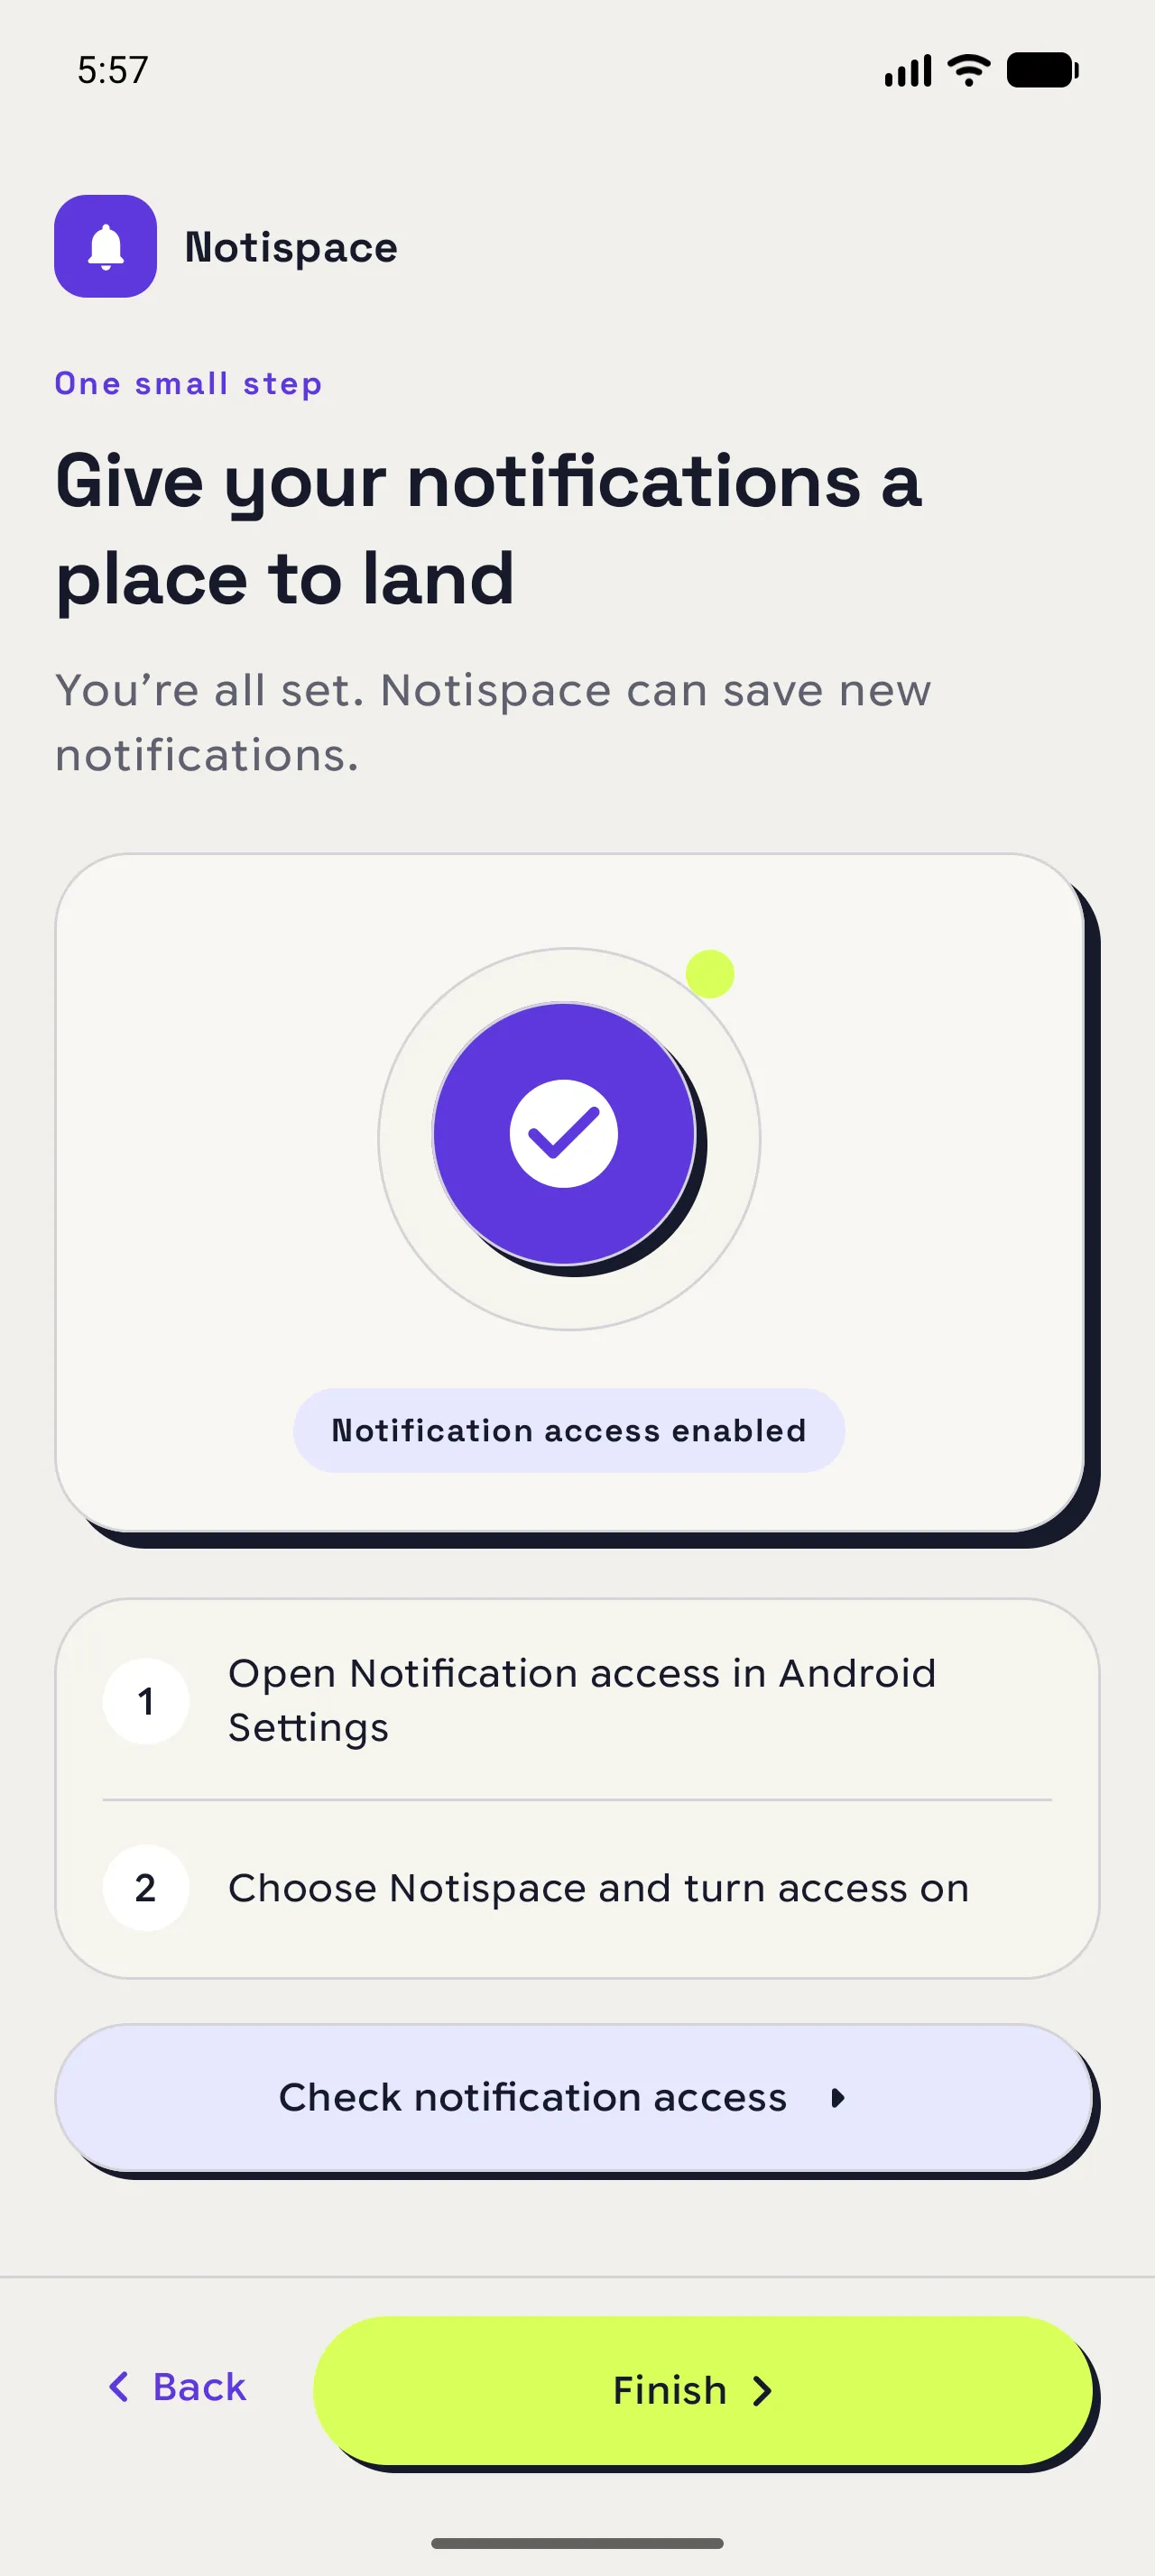
Check the ready state
Return to Notispace and look for the enabled status. Eligible notifications can now be saved as they arrive.
When you are done
The next notification has somewhere to go.
Notispace can now save eligible notifications on this device.
Open in NotispaceOpen the appA few notes
- Android may use a slightly different name for the notification-access screen on your phone.